How was everyone's long weekend?
With all of the serger excitement last week, I didn't get a chance to talk about my last tutorial for
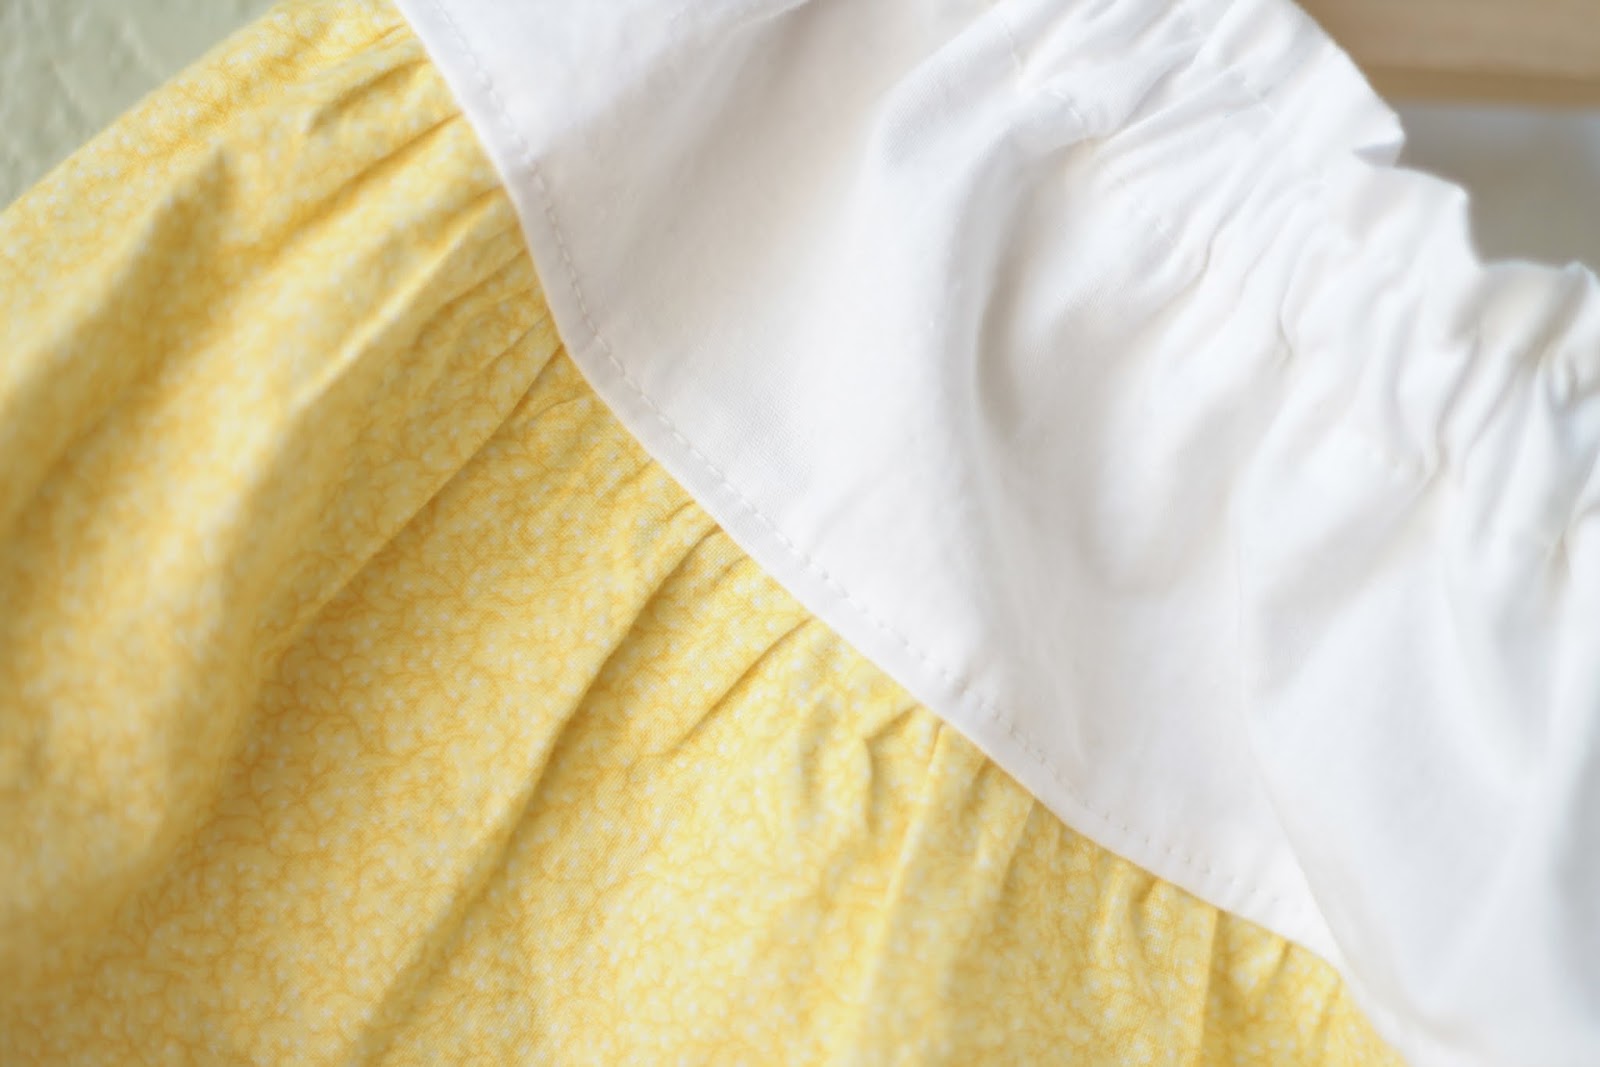
Sew, Mama, Sew! This is a beginners skirt tutorial, and walks you through cutting fabric, pinning, finishing seams, threading elastic and hemming. (No serging at all!)
It's a really simple tutorial-- perfect for those mom's that just want to make
something for their little girls., but aren't sure where to start. Making a skirt is super quick and easy, and it can be modified in
so many ways! The hardest part really is picking a fabric that you like.
:)
My daughter loves pink and dots so I was thrilled to find this pink polka dot fabric.
After it came off the machine, she started saying 'dess, dess!!!', which
is her word for dress. (um... I think). If she doesn't like something I
make, she'll normally say "no dess, no!", so I guess this ones a
winner.
Really though, I think this the perfect first project for anyone. I've heard so many poeple say that they just don't think they could sew, or don't know where to start, or don't know how much fabric to buy... this tutorial was written with you in mind. Check it out at
Sew, Mama, Sew!
So tell me, what was the first thing that you ever sewed? Or if you don't sew, what is the first thing you'd like to?


