Showing posts with label Celebrate. Show all posts

Monday, November 24, 2014

A Bob The Builder Birthday!

My little boy recently turned 5... sigh. I guess it's true that time really does fly when you're having fun.
Bob The Builder Home Depot Birthday Party

Since Ishaan has been really into Bob The Builder, we had the party at our local Home Depot. It was awesome! The staff were absolutely amazing and set up a cute little station for each child. They provided the project, paints, and aprons and let us bring in food and decorations. (These construction hats can be found Amazon).
Bob The Builder Home Depot Birthday Party
I'm pretty minimalist when it comes to parties... but since the activities were being done by Home Depot, it fun to incorporate a little bit of crafty into it.

First off were these cutie cupcakes. They are a box mix, but I did make a fakey fat-free butter cream icing to go on top. (Recipe coming soon!)  The kids loved it, and I felt so much better about feeding them something I wouldn't mind my own family eating. I got some new Wilton tips and practiced my cupcake swirl.
Bob The Builder Home Depot Birthday Party


We also did these cupcake toppers. These were so much fun to make! I created my own images using this Photoshop Elements Tutorial from Jackie's Designs. The nice thing about making your own is that you can personalize them *and* make sure they are sized to whichever paper punches you may have laying around.


Bob The Builder Home Depot Birthday Party
I had zero paper punches so I bought two EK success punches. Believe it or not, these were the big splurge of the party-- punches are so expensive! I tried a couple brands, but none worked as well as the EK Success kind. I ended up getting the 2.25" scallop punch and the 1.75 circle punch. I think they nest together just perfectly :)
Bob The Builder Home Depot Birthday Party

When I was tucking him in his bed that night I asked him what his favorite part of his party was. I expected it it be the cupcakes or the fact that he got to hammer as loud as he wanted. But he looked at me and said "It was you, Mama."

I know most of you are rolling your eyes (I would be too!) but I swear he said it. And it meant so much that I had to write it down here to make sure I never forget! Happy Birthday Sweetheart!!!

Sunday, November 23, 2014

#GiveHappy & #HappyHolidayPledge (#MC #Sponsored)

“I participated in an Influencer Activation on behalf of Influence Central (#MC) for OshKosh B’gosh. I received an OshKosh B’gosh gift card to purchase product and to thank me for my participation.”


It's that time of year again-- as soon as Christmas Carols start playing in the stores, we start feeling the pressure to crank out a bunch of handmade gifts. Starting two years ago, I've taken the Happy Holiday pledge. Yes, that's right. I'm not making any gifts for anyone. *gasp*

It's made such a huge difference for the past couple of holiday seasons to not be knitting on a deadline or be up at 2am rethreading my sewing machine. And I can spend the crafting time I do have working on things that I love (like expanding my embroidered ornament collection!)

That's why I was so excited when I saw the new Osh Kosh B'gosh #GiveHappy campaign.


I'll definitely be shopping for kids gifts and holiday clothes this season instead of making my own. Osh Kosh has adorable holiday clothes for parties, dress up, and even christmas pj's. Osh Kosh's quality is amazing; and I've always been able to hand down our Osh Kosh clothes even though our normal outfits are reduced to rags.

We are lucky enough that we have an Osh Kosh outlet nearby by (check for yours using the store locator!) ... so I decided to pop in and get my #Give Happy on.

 The first thing I noticed is that they have a lot of in season basics on sale-- Jeans, long sleeved tees and jackets at reasonable prices from sizes newborn - 12. These are perfect for gifts.
 They also have some adorable accessories that would look great in holiday pictures paired with more formal clothes (handmade or not).
 I grabbed a ton of pink long sleeved tees for for Amaani, and then my husband distracted the kids while I got a few small items to put away for Christmas gifts. Here's a hint:
Shhh... don't tell what they are! I'm crossing my fingers that we'll get snow this Christmas too!

Want your own? Osh Kosh B'gosh is subsidizing your holiday shopping with this awesome 25% off $30 or more coupon. (Most coupon's make you spend 50 dollars at least, so this is an awesome deal!) Don't have an OshKosh nearby? You can always check them out online. You can also connect with Osh Kosh on Facebook and Twitter to OshKosh B’gosh and keep an eye out for more deals.


And don't forget-- take the #HandmadeHolidaysPledge-- let us know what you are doing to keep the holidays stress free and fun!

Tuesday, May 6, 2014

The Perfect Pouch

Now that teacher appreciation day is almost over, we can turn our crafty powers towards Mother's Day. This cute little pouch would make a cute gift on it's own, but would be so, so much better filled with yummy, chocolaty or shiny, beautiful things.


Making this little circle pouch is as easy as pie. All you need is 2 fat quarters and a bit of skinny ribbon, cording or anything else that can substitute for a drawstring. Laying out your two fatquarters, fold them in quarters and draw a curve as shown using a dinner plate or tupperware top.
 Pin the two circles (right sides together, now!) along the edges. make sure to leave two small, half inch wide openings for the drawstring on opposite sides of the circle.
 And sew! Make sure not to sew over your openings!
 When you've finished you'll have something like this. Turn the circle right side out through one of the openings and press.
 Now, topstitch a half inch inide the edge of a circle creating a casing for your ribbon. Using your bodkin, if you can find it, thread your ribbon through the casing. If you, like me, can't find your bodkin a safety pin will work just as well, if a little slower. Tie the edges of the ribbon together, and hide the knot in the caseing. Once you are done, you'll have something like this.
 For an extra finished bag, you can hand sew the raw edges of the opening down. Or you can leave it (notice my needle doesn't have any thread?)
 To use, just pile all your stuff on to the pouch....
 And pull on the string...
 And tie the ribbon into a bow! Voila! a cute little bag that can also be used as a mat while mama is doing her make up, putting on jewelry (or eating her chocolate.) Ahem.
I know tutorial day is tomorrow, but I thought I"d get this out there, in case anyone was looking for a quick project in advance of this weekend. See you back here tomorrow for another fun announcement!!!

Wednesday, February 5, 2014

Upcycled Handprinted Giftwrap


It's Valentine's Month! For someone who decorates for Christmas a full 2 and half months, you'd think that I'd be all decked out for Valentines day, but, I'm not. We keep Valentines low key around here-- a few cards and of course, the valetines day shoebox. So, when I got an opportunity to review and create a project using Apple Barrel Craft paints I was excited to try something new.

I'll admit-- I've used Apple Barrel paints loads of times before, so 'reviewing' them was a no brainer. I love that they are easily available, and come in tiny sizes, as well as larger 'economy sized packages. They are typically less expensive than similar brands and come in great colors. A win in my book-- especially for the craft projects I do with the kids.  

My package from Plaid included stencil, and the first thing that popped into my head was giftwrap! My kids and I had a potato print craft fail a few months ago, but the stencils seemed much easier. 
For our paper, I cut open a paper bag from Olive Garden. Obviously, you could use any shopping bag or even a roll of kraft paper, butcher paper, or even newsprint.
A quick tip-- use a dry iron on a low temp to smooth out the creases. Although you will still be able to see the fold lines, it will make the paper lay much flatter.
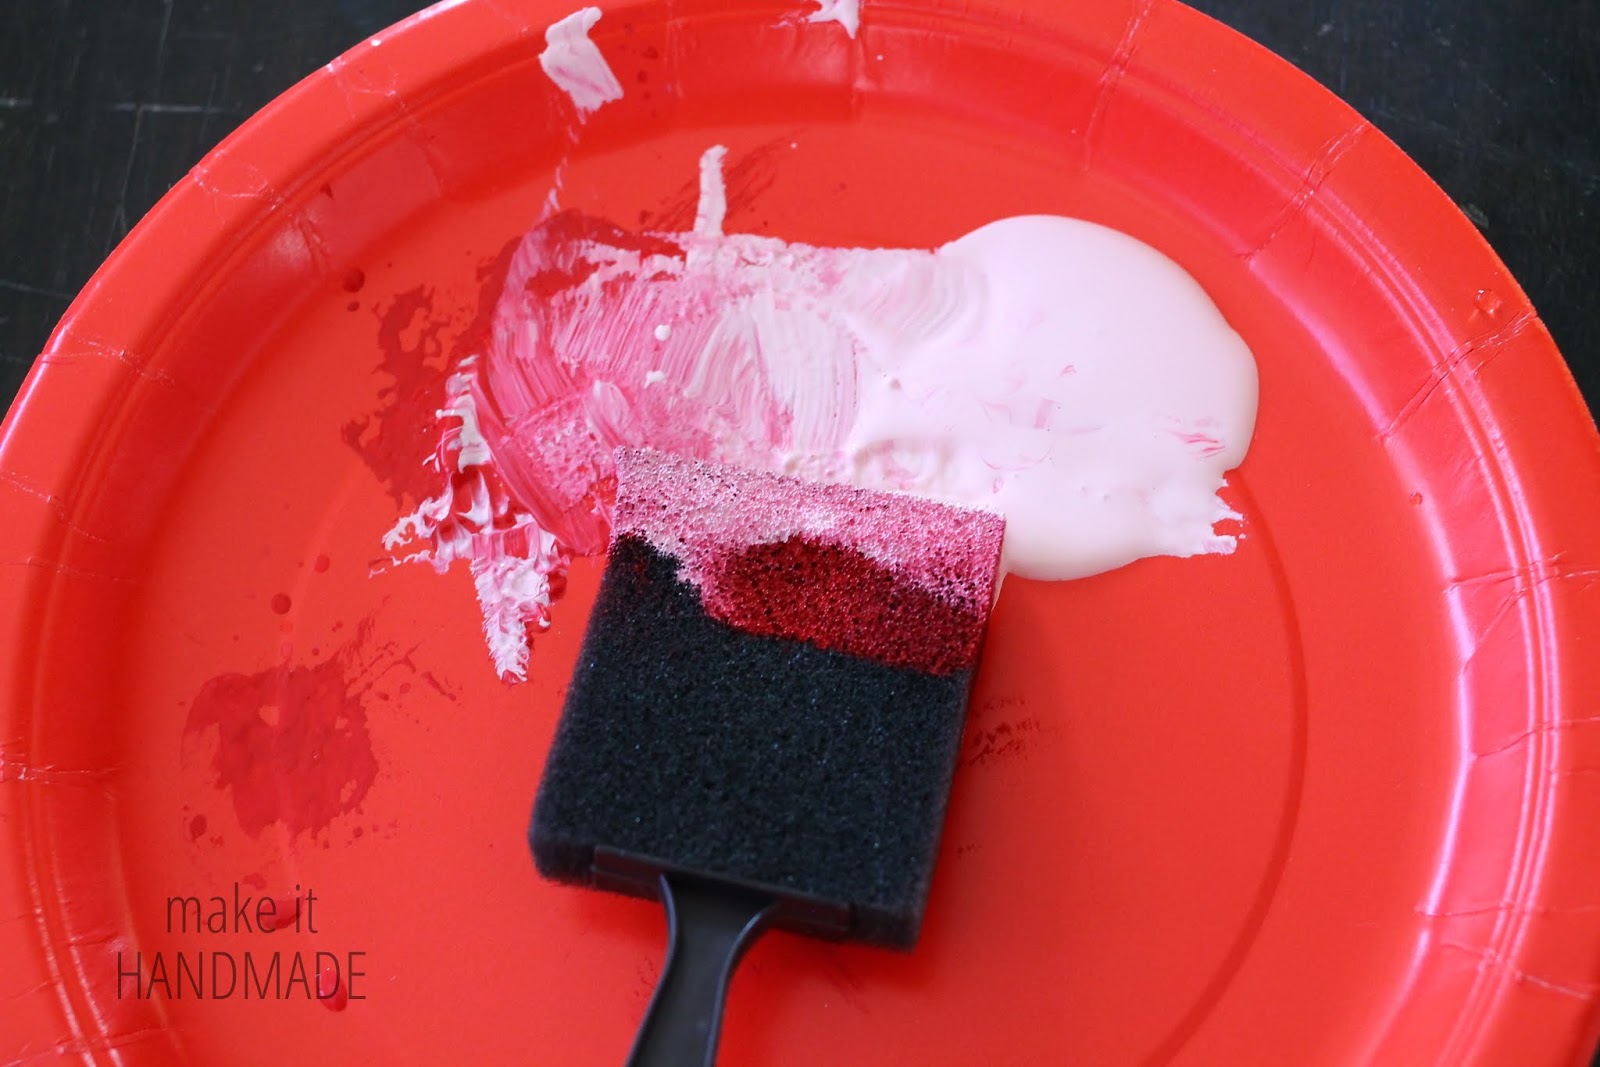
Now, just get stenciling. I used a heart stencil and a cheap foam brush.

Just for fun, I added in some white to make pink hearts.
I alternated the pattern so I wouldn't have to worry about which way was 'up' on my gift wrap. The paint dried quickly, so I was able to fill in the pink hearts immediately after I finished the red.
I know the hearts aren't perfect, but it's nice that the giftwrap looks handmade. I honestly think that a slightly older child (maybe 6+) could do a better job with this than I did! It would be a great way to personalize a teacher gift or dress up card boxes. And of course, by changing up the stencil you could make giftwrap for any occasion!

This post was sponsored by Plaid and Blueprint social, but all opinions are mine! You can check out other fun Valentines day projects and craft inspiration on Plaid Blog, Weekly Newsletter and Pinterest board!

Wednesday, December 11, 2013

Handmade Christmas Ornament Kids Craft-- With Free Template!

I'm popping in with a fun, quick Christmas craft for your little ones! I'll be back later this week to show you how to make a 'grown up' version of this ornament-- so keep your eyes peeled!

If you've been following this blog for a while, you'll know that this is only our second year with a Christmas tree. After the tree toppling incident of last year I've totally sworn off glass ornaments. Instead, we've been using our snowed-in days to craft up a bunch of handmade, unbreakable ornaments for our tree.

To make your own (or have your kids make one!)-- grab a copy of the Classic Felt Ornament template from my fb page by using this link. (You'll have to be a MIH fan)

Cut the ornament out of felt using the template. You can also use construction paper for a completely no-sew project. Hand over the glue and glitter and have your kids go to town! They can decorate both sides of the for a doublesided ornament. 
 My son took his job very, very, very seriously.
Then, using the 'ornament top' portion of the template, cut out two rectangles in a contrasting color of felt or paper. Place the rectangles on either side of the tab on top of the ornament. Sandwich a piece of yarn, ribbon or string between the two rectangles.
 Then, sew or glue the ornament tops and ribbon to the main part of the ornament.
 And you are done! Here's the ornament my husband and son worked on... notice how the car is underneath the road? Stay safe on those icy roads, people!!!

All that's left to do is hang and enjoy. I know these aren't the most beautiful ornaments out there-- but they are the first handmade ones my kids have done, and I just love them to pieces. We had so much fun making them and will have wonderful memories of a snowed in afternoon. I hope you all download the template, and get crafting this week as well!

Friday, October 4, 2013

Handmade Halloween: Doll Witch Costume

shh... time is running low to enter the big Handmade Halloween Giveaway. Enter today! 

For Handmade Halloween today, we have a pair of bloggers who I'm sure you know-- Elizabeth and Liz from Simple Simon and Co, Project Run and Play and Project Sewn. (BTW-- Have you been keeping up with Project Sewn? Amazing work from some of my absolutely favorite bloggers. )

Since I'm sure you are all familiar with Elizabeth and Liz's fabulous sewing, I thought I would highlight some of their fabulous no sew projects. 

No Sew Fort ~ Peg People ~ Mummy Bars

Isn't that an awesome fort! Our kids would love in their rooms. Head on over to Simple Simon and Co to find out how to make this adorable doll witch costume.


And don't forget to stop by Feather's Flight to see what Marrissa (aka, the Halloween queen) has up her sleeve for us! There is also a roundup of Halloween Decor Ideas on Sewistry.com today! I'll be back tomorrow with a fun round up. Thank you, Thank you for following along this week and helping to make Handmade Halloween a success!


Thursday, October 3, 2013

Vintage Halloween Costume Inspiration: Celina from Petit a Petit and Family

Handmade Halloween marches on! I'm so excited to have Celina back on the blog today! I could go on and on about how awesome she is-- (and I did in her Handmade Confession Post)

Here are a few of her latest projects... she's so talented!
Clockwise: Duffle Coat ~ Playtime Bloomers ~ Hanami Top
Celina also has a great sense of style-- I was positively giddy when I heard what she had planned for today's post! A Vintage Halloween Costume roundup!

And don't forget to check out what Heather from Feather's Flight has going on! She has Rachael from Imagine Gnats sharing some fun Halloween Inspiration!

Tuesday, October 1, 2013

DIY Felt Eyeballs from Jess at the Sewing Rabbit! Handmade Halloween

I am absolutely thrilled to kick off our week of Handmade Halloween inspiration with Jess from the Sewing Rabbit and SewSet. She's sharing an easy Halloween decor craft-- Felt eyeballs!

I have to admit, the spiders crawling on eyeballs thing kind of gives me the creeps-- which is probably exactly what what we need to get in the Halloween Spirit! And if wooly felt eyeballs arent really your thing-- scroll down. She's done a wonderful round up of other crafts to make with felt balls.

And of course-- don't forget to head on over to Sewistry, for our roundup of Baby Costumes (even if you don't have a baby-- these costumes are to cute to miss!); and Feather's Flights to see what Rachael from Once Upon A Sewing Machine has in store for us!


Hello Make it Handmade Readers! Jess the Sewing Rabbit here, and I am so honored to be guesting today for Palak & Heather's Handmade Halloween Series. 

The holidays can be a time of stress for many. From making costumes to handmade treats, goodies for school and running around to all of the different Fall Festivals, if you aren't careful you can find yourself running around more than enjoying the festivities. Which is why I like to keep my Holiday decorating easy. 


These easy wool felt eyeballs are a cinch to make, and will add instant Halloween decor to any decorated side table. The best part is that you can easily reuse these wool felt balls for another project once Halloween is over! More on that later.  

How to Craft Easy Wool Felt Eyeballs

Materials:
  • Store-bought white felt balls 
  • Black stiff sticky-back felt 
  • Scissors
My Movie from Jess Abbott on Vimeo.

Instructions:
  1. Cut out small circles from black felt. 
  2. Remove sticky back. 
  3. Stick black circle on white wool felt.
Easy as 1, 2, 3. 


The best part about this Halloween Craft? Once Halloween is over, you can just take off those black circles and upcycle the wool felt balls. 

A mini round up of Felt Ball Inspiration...

  1. Felt Ball Alphabet
  2. Felt Ball Coasters
  3. Felt Caterpillar
  4. Felt Bugs
  5. Felt Ball Garland
  6. Fall Felt Banner
  7. DIY Felt Ball Trivets
  8. Felt Ball Necklace
  9. Felted Balls Chandelier
  10. Felt Ball Wreath

I hope this gets you inspired to start crafting this holiday season! Just remember, the holidays don't need to be a time of stress. Making it handmade can be easy and fun, the key is finding what you love to do - and keeping it simple!

Thanks so much for having me here today Palak, I am so excited to follow along with the rest of the series and see what other people are making for Halloween. 

Happy Sewing!


Jess! Thank you so much for stopping by; eyeballs and all! I'd absolutely hate for you all to think that Jess is all about spiders and icky stuff! If you want to see more of Jess's awesome (and gorgeous) work; check out some of her tutorials:

Clockwise: Polka Dot Dress | Knit Bell Bottom Yoga Pants | Mod Purse Refashion

And don't forget to check out what Heather is up to today-- she has Rachael from Once Upon A Sewing Machine sharing a fall tutorial.

See you tomorrow for more Halloween Inspiration!

Monday, September 30, 2013

Handmade Halloween-- Let's Get Started!!!!

 Yay!!! It's finally here! A week full of Halloween Inspiration! I've been having a blast working on this behind the scenes; and I can tell you that I've never been more motivated to start sewing, hot gluing and creating costumes for my kids! (If only I had something like this for laundry...) I'm so glad I finally get to share my excitement with you all!

Handmade Halloween: Get Halloween inspiration from your favorite bloggers in this week long series from Make It Handmade, Feather's Flights, and Sewistry.com
 First... Let me tell you about the awesome ladies who are participating!

TUESDAY
Feather's Flights~ Once Upon A Sewing Machine 

WENESDAY: 
 MIH~   Melly Sews 
 Feather's Flights~ Handmade Martini

THURSDAY: 
 Feather's Flights~ Imagine Gnats

FRIDAY: 
Feather's Flights~ Raegun Ramblings 

It's a jam packed week, with Halloween Posts going up on 3 different blogs each day this week. I just have to say a quick word about my co-host Heather. She is a fantastic seamstress, blogger and soon to be mom of two! And she's about to become your favorite blogger-- because she managed to put together an incredible prize package for one of you guys!

Here are the generous Handmade Halloween Sponsors:

A $40 gift card to The Ribbon Retreat
Your choice of three patterns from Blank Slate Patterns
Your choice of a half yard bundle of 8 prints of "Too Cute To Spook" fabric from Riley Blake Designs
An organ grinder monkey costume from Handmade Martini
Two patterns from Feathers Flights shop
A $30 gift card to Imagine Gnats shop
Your choice of a Halloween pillow from Ful of Grace's Etsy Shop
A Halloween treat bag pattern from Charming Doodle

Handmade Halloween: Get Halloween inspiration from your favorite bloggers in this week long series from Make It Handmade, Feather's Flights, and Sewistry.com

It's going to be an awesome week!!! See you back here tomorrow!