Showing posts with label Craft. Show all posts

Wednesday, July 30, 2014

Mini Sock Muppets

Make sock puppets from colorful ankle socks! Step by Step instructions for sock puppet craft to do with or for the kids.
Muppets! I'm a child of the 80's and grew up watching the Muppets, Muppet Babies, Fraggle Rock... etc. That's why I was so excited when Muppets Most Wanted came out! A movie that I can actually enjoy watching with my kids. (When do you ever get to watch Tina Fey with your kids?)
Make sock puppets from colorful ankle socks! Step by Step instructions for sock puppet craft to do with or for the kids.

To celebrate, I decided that we should make our own sock puppets-- err I mean sock muppets! These Mini Muppets are adorable, and would make a great project to do with your kids.

To make your own Mini Muppets, grab your scissors, hot glue gun, stuffing, a needle and thread, craft supplies, and some fun ankle socks.  I will admit that bought a brand new high-temp hot glue gun for this project. It worked so much better than my old glue gun.

I will admit that I don't own brightly colored socks like these. I'm a white crew sock girl myself. I bought these new for this project for just a few dollars.
Make sock puppets from colorful ankle socks! Step by Step instructions for sock puppet craft to do with or for the kids.
 Snip off the ribbing and heel of the sock. You can make taller or smaller muppets based on how how far up the sock you make this cut.
Make sock puppets from colorful ankle socks! Step by Step instructions for sock puppet craft to do with or for the kids.
 Now stuff the sock. I used Puff and Stuff, and I loved how easily the sock filled out with out being clumpy.
Make sock puppets from colorful ankle socks! Step by Step instructions for sock puppet craft to do with or for the kids.

Now for the only sewing you'll have to do. Just make a large running stitch around the opening of the sock...
Make sock puppets from colorful ankle socks! Step by Step instructions for sock puppet craft to do with or for the kids.
 ... and pull the thread tight to gather.
Make sock puppets from colorful ankle socks! Step by Step instructions for sock puppet craft to do with or for the kids.
 For a clean finish, push the ends back into the muppet.
 Knot off your thread (you may have to pull the threads a little tighter after pushing in the excess fabric). You'll have a perfect muppet bottom.
Make sock puppets from colorful ankle socks! Step by Step instructions for sock puppet craft to do with or for the kids.
 Once you start-- it's hard to stop! I made all of these in about 15 minutes. With the middle, I didn't cut the sock at all, but instead gathered the top without pushing in the extra fabric. Get creative with it!
Make sock puppets from colorful ankle socks! Step by Step instructions for sock puppet craft to do with or for the kids.
 Now for the fun part. Gather all the pom poms, googly eyes and felt that you can find, and use your hot glue gun to decorate each muppet. For a baby safe puppet, use embroidery thread to embroider faces on the muppet.
Make sock puppets from colorful ankle socks! Step by Step instructions for sock puppet craft to do with or for the kids.
 When you are done you'll have a pair (or more) of adorable puppets to share with your kiddos.
Make sock puppets from colorful ankle socks! Step by Step instructions for sock puppet craft to do with or for the kids.
Here is my tall puppet where I simply gathered the ribbing portion of the sock.
Make sock puppets from colorful ankle socks! Step by Step instructions for sock puppet craft to do with or for the kids.
Get inspired! Muppets Most Wanted is available on Blu-ray Combo Pack and Digital HD August 12th at Disney.com.  You can keep up with the Muppets Most Wanted on social media:


This post was sponsored by Disney and Blueprint Social. 

Wednesday, March 12, 2014

Key Chain Kids Craft

Last year I wanted my kids to make Christmas gifts for our family and friends. I wanted it to be something that could be made mostly by my kids, and would be at least some what useful and not end up as clutter or tossed in the trash can.

I finally settled on beaded key chains-- they are useful and my kids had a blast making them. They get a little thrill each time they see one of their beloved aunts, uncles, parents or grandparents pick their keys up off the counter. (Admittedly, I do too!)

What do you need? Pipe cleaners, key chain findings, beads, and a little patience.

I had trouble finding pony beads at my local craft store. You can find a big selection of pony beads as well as key rings for cheap on Amazon!

Although older kids could do this whole craft on their own, I prepared the keychains by wrapping the pipe cleaner around the key ring...
 ...and twisting it to secure.
 I used a pair of pliers to mash down the little bit of wire in the pipe cleaner that stuck out. I didn't want any little fingers to get poked!
 Then I hand it over and let the kids string the pony beads onto the key chain. Please be advised that the small beads can be a choking hazard.
 Once they finished with a key chain, They hand it back to me to close off.
 Using the pliers, I just twist the free end of the pipe cleaner around the key chain and tuck it in to the beads.

And that's it! My kids made dozens of these over our 'winter break' to give to friend and family. We had so many that some people even got 2! Do you all have any suggestions for next year?

Wednesday, February 5, 2014

Upcycled Handprinted Giftwrap


It's Valentine's Month! For someone who decorates for Christmas a full 2 and half months, you'd think that I'd be all decked out for Valentines day, but, I'm not. We keep Valentines low key around here-- a few cards and of course, the valetines day shoebox. So, when I got an opportunity to review and create a project using Apple Barrel Craft paints I was excited to try something new.

I'll admit-- I've used Apple Barrel paints loads of times before, so 'reviewing' them was a no brainer. I love that they are easily available, and come in tiny sizes, as well as larger 'economy sized packages. They are typically less expensive than similar brands and come in great colors. A win in my book-- especially for the craft projects I do with the kids.  

My package from Plaid included stencil, and the first thing that popped into my head was giftwrap! My kids and I had a potato print craft fail a few months ago, but the stencils seemed much easier. 
For our paper, I cut open a paper bag from Olive Garden. Obviously, you could use any shopping bag or even a roll of kraft paper, butcher paper, or even newsprint.
A quick tip-- use a dry iron on a low temp to smooth out the creases. Although you will still be able to see the fold lines, it will make the paper lay much flatter.
Now, just get stenciling. I used a heart stencil and a cheap foam brush.

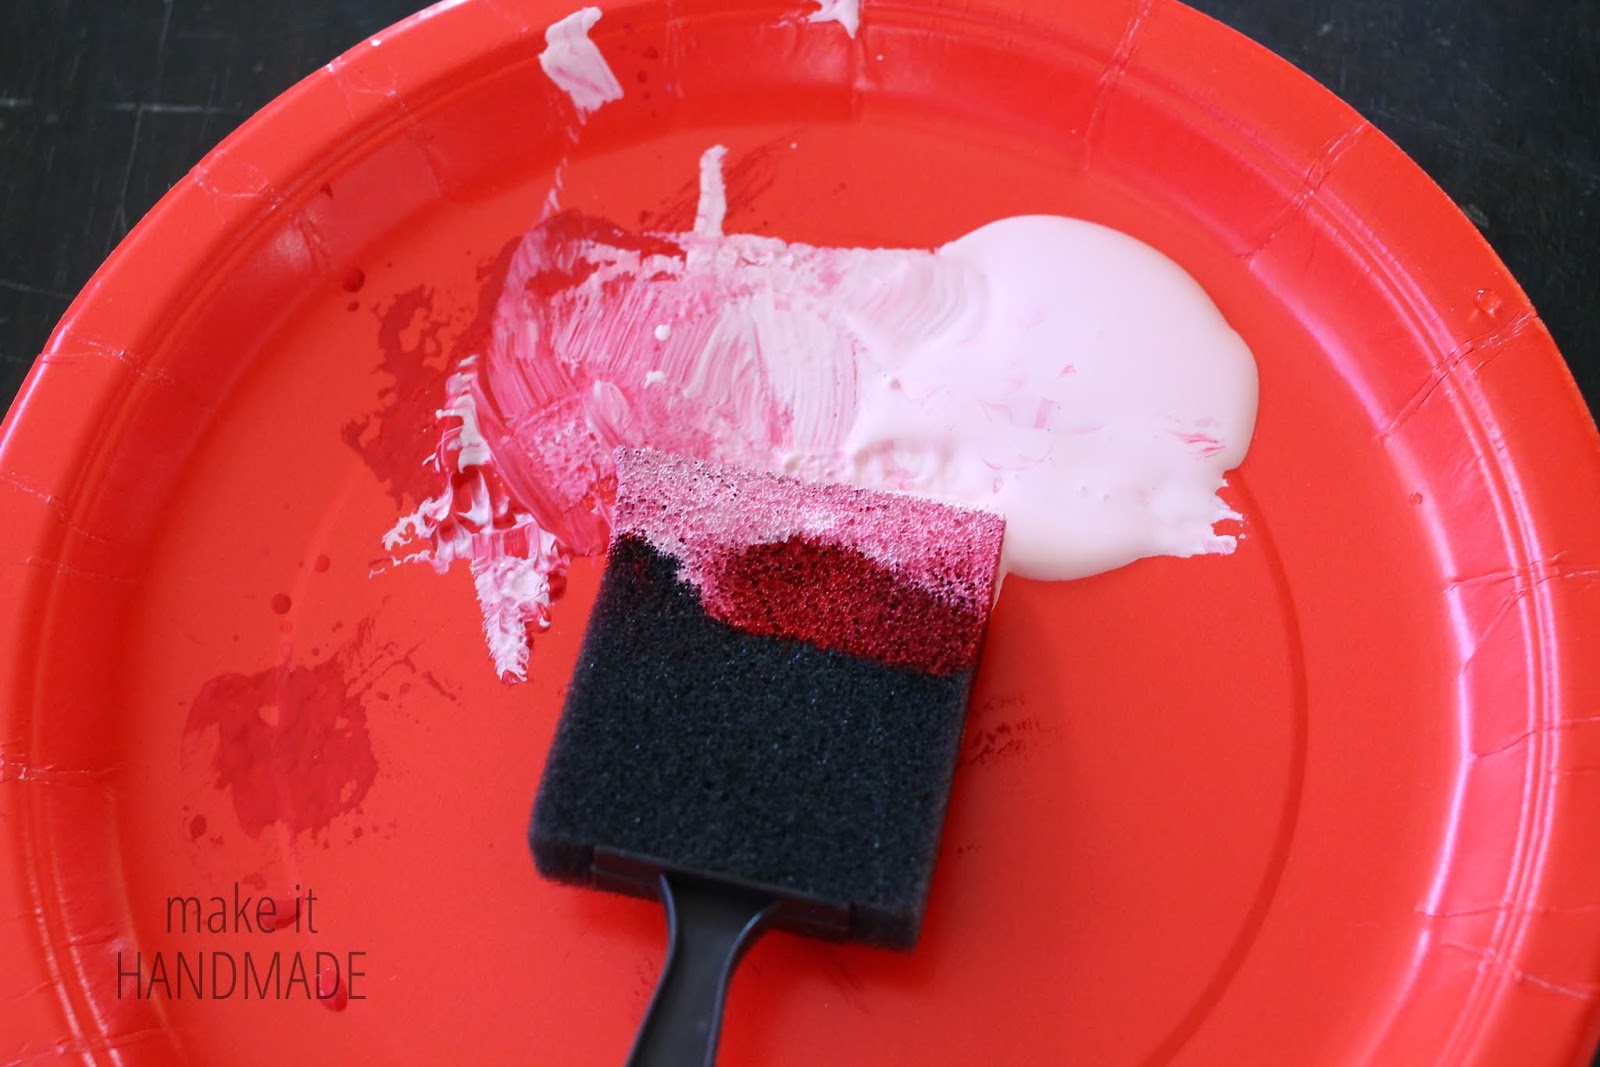
Just for fun, I added in some white to make pink hearts.
I alternated the pattern so I wouldn't have to worry about which way was 'up' on my gift wrap. The paint dried quickly, so I was able to fill in the pink hearts immediately after I finished the red.
I know the hearts aren't perfect, but it's nice that the giftwrap looks handmade. I honestly think that a slightly older child (maybe 6+) could do a better job with this than I did! It would be a great way to personalize a teacher gift or dress up card boxes. And of course, by changing up the stencil you could make giftwrap for any occasion!

This post was sponsored by Plaid and Blueprint social, but all opinions are mine! You can check out other fun Valentines day projects and craft inspiration on Plaid Blog, Weekly Newsletter and Pinterest board!

Wednesday, December 11, 2013

Handmade Christmas Ornament Kids Craft-- With Free Template!

I'm popping in with a fun, quick Christmas craft for your little ones! I'll be back later this week to show you how to make a 'grown up' version of this ornament-- so keep your eyes peeled!

If you've been following this blog for a while, you'll know that this is only our second year with a Christmas tree. After the tree toppling incident of last year I've totally sworn off glass ornaments. Instead, we've been using our snowed-in days to craft up a bunch of handmade, unbreakable ornaments for our tree.

To make your own (or have your kids make one!)-- grab a copy of the Classic Felt Ornament template from my fb page by using this link. (You'll have to be a MIH fan)

Cut the ornament out of felt using the template. You can also use construction paper for a completely no-sew project. Hand over the glue and glitter and have your kids go to town! They can decorate both sides of the for a doublesided ornament. 
 My son took his job very, very, very seriously.
Then, using the 'ornament top' portion of the template, cut out two rectangles in a contrasting color of felt or paper. Place the rectangles on either side of the tab on top of the ornament. Sandwich a piece of yarn, ribbon or string between the two rectangles.
 Then, sew or glue the ornament tops and ribbon to the main part of the ornament.
 And you are done! Here's the ornament my husband and son worked on... notice how the car is underneath the road? Stay safe on those icy roads, people!!!

All that's left to do is hang and enjoy. I know these aren't the most beautiful ornaments out there-- but they are the first handmade ones my kids have done, and I just love them to pieces. We had so much fun making them and will have wonderful memories of a snowed in afternoon. I hope you all download the template, and get crafting this week as well!

Friday, October 11, 2013

Easy Felt Crown Tutorial!

Good morning everyone! I have a fun, easy tutorial for you all up at the Sewing Rabbit today!


This fun little crown cost me only 50 cents and a few scraps to make! Even if you had to purchase everything from the store I'm sure these could be made for just a few dollars. Since the decorations are glued and not sewed on, this would be a perfect project to do with kids old enough to handle scissors.

Head on over to the Sewing Rabbit to get the tute!

Thursday, September 5, 2013

Grandparents Day 2013

It's that time again! Grandparents day is on September 8th. We are rich in grandparents in our family, and right now, we have our great grandparents visiting as well, so I want to do something special for Grandparent's Day.

Last year I came up with this fun handprint tree craft to do with the littles for Grandparent's Day. (or really any day). You can purchase the printable below, or on the shopping page.
We'll see you back here tomorrow for a handmade confession by the amazing Melly Sews!

Wednesday, August 28, 2013

Tigger Tails

I was absolutely thrilled when I heard that the Adventures of Winnie The Pooh was coming out on Blue Ray. (And it came out yesterday!)  Honestly -- not for my kids-- but for me. I have so many fond memories of listening to my dad read these specific stories over and over to me as a child. Now that I have kids of my own, I'm lucky enough to get to hear my dad read them to my kids. 

I was able to watch the DVD last week and I was absolutely transported! It was like being 6 years old again, except in HD. I was so impressed that the video was so clear, while the sound and voices were exactly what I remembered from so many years ago.

I wanted to make my kids something special for the movie watching, so I came up with these Tigger Tails. And since this is Create With Kids Month, Amaani and I made them together while big brother was at school. 


This post was sponsored by Disney in conjunction with Blueprint Social. The opinons and fond Pooh memories are entirely my own, though.


This is an extremely quick project-- I was surprised at how much Amaani enjoyed it. It goes without saying though-- please be safe when using the iron and sewing machine around small children.

Materials:

22"x 4.5"yard of orange felt
1/8 yard of black felt (or scraps at least 4.5" long)
Stuffing (optional)
1 yard of ribbon
stitchwitchery or hem tape
1 semi helpful toddler
 I just have to throw this picture in here... How did she get so big?

Cut the black felt into strips about 1 roughly 1 inch wide by 4.5 inches long. I made sure to cut my strips slight wonky, because, you know, Tigger isn't perfect.

Have your chlid arrange the stripes onto the orange rectangle. Slip a piece of stitch witchery or hem tape underneath each stripe. I found the felt and the fusible side of the tape held together, so it was pretty easy to work with.


With your toddler a safe distance away, iron each stripe to fuse it to the tail. Then, simply fold the tail in half (wrong sides together) and sew to create a tube. Fold your ribbon in half, and slip the fold ribbon into one end of the tail. Stitch straight across that end.

Stuff the tails if desired (my kids love to help with this part!) Close up up the end of the tail using a gathering stitch as shown. (for more details on this step, check out my stuffed Dandiya Tutorial!)

Now all that's left is to enjoy your Tiggers! My two were bouncing around the house trying to sing the Tigger song.


I hope that you all get to enjoy the movie and the tails as much as we did! You can 'friend' Pooh at his facebook page. And check out all these other posts of Pooh crafts done by other bloggers.

 See you back here tomorrow!!!

Wednesday, August 21, 2013

Kid Made Nature Batik Quilt with Rachel Rabbit!

Have you noticed MIH's newest sponsor, ZipIt? Zip It zippers is the only place that I've bought my zippers for years, and I'm absolutely thrilled with them each and every time. They now have trendy metal zips and invisible zips at much better prices than your local fabric store.


I'm absolutely thrilled to have Rachael from Rachael Rabbit over to share a Create With Kids project. I was absolutely floored when Rachel sent me a link to her blog-- and spent the next hour of my life reading her archives.

It's full of projects that you can do with even the youngest of kids. Even though her kids don't use the sewing machine, it's their work, style and creativity that's showcased in these projects. Before we get to the amazing project she's sharing today, I just have to highlight some of her (and her kid's!) past work.

This Kid Painted Tee Pee is just dreamy-- Her kids painted the fabric, and then she sewed up the tent. How fun for the summer!
Kid Painted Teepee

My favorite project of Rachael's is this quilt. Can you imagine how proud her daughter must be? It's absolutely gorgeous.
Kid Made Nature Batik Quilt. Use objects from nature as a resist and create a gorgeous quilt using batik dyes.

She wins the award for Coolest Mom Ever for coming up with this idea! Paint bombs!  Another kid painted quilt in the making!
Kid Made Nature Batik Quilt. Use objects from nature as a resist and create a gorgeous quilt using batik dyes.

And now she's sharing how to make this Gorgeous batik blanket-- with your kids. I can't wait to try this!

I am very excited that this post is being featured at Make it Handmade.
Kid Made Nature Batik Quilt. Use objects from nature as a resist and create a gorgeous quilt using batik dyes.

My girls love anything that involves copious amounts of glue and spray bottles. This project held their attention for 1+ hours - which I think must be a record for us!

Kid Made Nature Batik Quilt. Use objects from nature as a resist and create a gorgeous quilt using batik dyes.

For this project I used:
  • a piece of plain white muslin/cotton
  • a bottle of Batik EZ (you might be able to substitute this with a liquid washable glue like Elmers) I poured the Batik-EZ onto a craft tray - but I think you could use any vessel as long as you can dip your leaves into
  • cotton balls
  • spray bottles
  • fabric paint - I use BioColor paint with their BioColor Fabric medium - it is non toxic and certainly works!
  • leaves and flowers from around the garden
  • plastic sheet - I just used a large black bin liner cut down one side to protect our patio
  • additional fabric for the border, backing and binding
  • batting

The girls were told to dip things into the Batik EZ and then place them on the fabric. Our aim (I say 'our aim' but really is was 'my aim') was to make a sky with clouds in the middle and leaf prints and grass on the outer edges.

Putting the cotton balls apparently was boring and the girls wanted to move on to cutting leaves off plants and sticking them down asap. Once they had finished with the cotton balls I just emptied the remaining balls from the bag into the middle of the fabric - no additional Batik EZ.

Kid Made Nature Batik Quilt. Use objects from nature as a resist and create a gorgeous quilt using batik dyes.

There was some consideration to where every leaf or flower should be put.


Find a leaf, dip and stick. They didn't seem to tire of it. 

Kid Made Nature Batik Quilt. Use objects from nature as a resist and create a gorgeous quilt using batik dyes.

Everything was precisely placed.

Kid Made Nature Batik Quilt. Use objects from nature as a resist and create a gorgeous quilt using batik dyes.

Here is our finished fabric after the cotton balls and leaves were all stuck down and they declared the project to be 'done'.

Kid Made Nature Batik Quilt. Use objects from nature as a resist and create a gorgeous quilt using batik dyes.

What they didn't realize was that after lunch - once everything had dried we got to spray everything. I used four colors - two green tones and two blue tones - I also watered down the BioColor Paint and Fabric Medium combo so the paint would be lighter.


My four year old was good at following the 'blue in the middle for sky' & 'green around the outside for grass' instructions. But my 2 year old just sprayed what ever and where ever she fancied. 


Here is our fabric after the spray paint. We left it to dry in the sun & then I moved it into our boiler room where it sat for 5 days - just to make sure.

Kid Made Nature Batik Quilt. Use objects from nature as a resist and create a gorgeous quilt using batik dyes.

To remove all the leaves and cotton balls I just soaked the fabric in cold water. Everything came off very easily - but the waxy coated leaves (Ivy & Lillie's leaves) came off the easiest. I put the fabric into the washing machine and ran it on a hot cycle & tumble dried it on a hot cycle too.

Kid Made Nature Batik Quilt. Use objects from nature as a resist and create a gorgeous quilt using batik dyes.

Once I had added a simple border to the fabric I layered, quilted and bound the picnic blanket.

Kid Made Nature Batik Quilt. Use objects from nature as a resist and create a gorgeous quilt using batik dyes.

I don't think you need to quilt your picnic blanket like I did - you could tie it if that is easier. If your children are older you could also get them to outline the leaf shapes with a fabric marker. There are many directions you could take this idea.

Kid Made Nature Batik Quilt. Use objects from nature as a resist and create a gorgeous quilt using batik dyes.

The girls LOVED having a fairy tea party in the garden with their new picnic mat.

Kid Made Nature Batik Quilt. Use objects from nature as a resist and create a gorgeous quilt using batik dyes.

You can tell these kids are somewhat English by their tea party skills!

Kid Made Nature Batik Quilt. Use objects from nature as a resist and create a gorgeous quilt using batik dyes.

After the tea party was over the girls set about inspecting the clouds & leaves on the blanket.

Kid Made Nature Batik Quilt. Use objects from nature as a resist and create a gorgeous quilt using batik dyes.


Thank you so much for sharing this tutorial Rachael! Our weather is cooler now, and this is a perfect time to pick leaves and twigs to work on this project.

If you liked this post, head on over to Rachel Rabbit to see more of her awesomeness. Rachael's also collecting fabric for a charity quilt-- check out this post for all the details. We'll see you back here on Friday for more handmade fun!