All this to say-- I'm resharing this fun Remote Control Pillow Tutorial I shared at I Heart Organizing last year. It's a simple sew, to be sure, but it's still extremely useful! I think it would be especially cute in team colors.
I came up with this remote control pillow to keep those remote controls right on the couch-- but out of sight.
Even if you've never sewn a stitch before, you can make this fun little pillow-- I promise. Pillows are a great beginner project. This tutorial will walk you through step by step, and if you get stuck; you can always email me and I'll do my best to help you out.
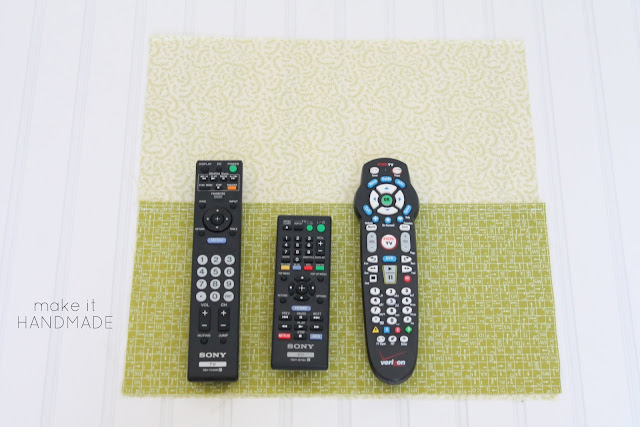
I've also created a compilation of free sewing tutorials especially for new sewists. If you've never used a sewing machine before, this series of tutorials will walk you through the basics of sewing. You'll have this pillow made in no time!
Materials:
- 3 Fat Quarters
- 1 14" Pillow Form
- Sewing Machine & Supplies
Decide which fabric you'd like to use for the pocket side of the pillow, and which you'd like to use for the pretty side.
Cut each fat quarter into a 15x15 square.
Step 2: Fold the pocket piece in half, wrong sides together and topstitch 1/8 inch away from the fold.
Step 3: Place the pocket piece on the right side of the pillow back. Using your remotes as a guide; mark out where the pocket needs to be divided, and topstitch in place.
Step 4: Place the remaining square (pillow front) right sides together with the pillow back. Sew around 3 sides of the pillow as shown.
Turn the pillow right side out through the little opening. Iron the pillow case out very well and then insert the pillow form into the pillow. The best way to finish the pillow is to hand sew the opening shut. For a super easy invisible stitch, check out my Magic Stitch Tutorial. If you are more adventurous, you can add an invisible zipper instead.
Now you have your very own, one of kind, customized throw pillow with attached remote control caddy.
To use, simply place the remote controls in the pockets to store. (Don't forget to tell your family where they are!)
Turn the pillow pretty side out when your mother in law comes over.
I hope you give it a try! Please share and and pin if you like this post!


