

Pillows are some of my favorite projects. Quick, easy and satisfying-- and you never have to worry about fit. They are also great projects for when you want to update something without spending a bundle. This little pillow is so fun to make-- and only takes a couple of fat quarters.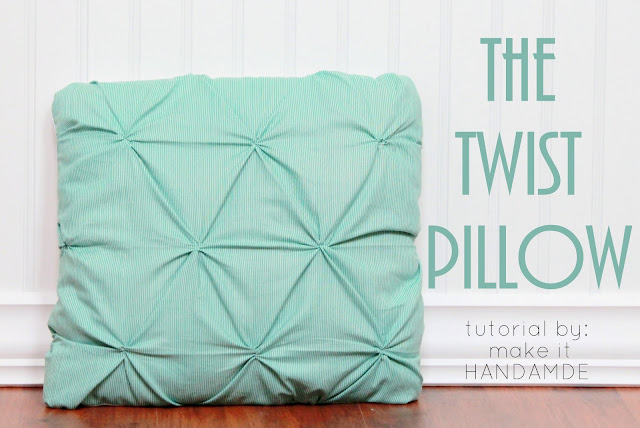
I shared this pillow at the Sewing Rabbit a few months ago, and now I'm sharing it with you all here! The Twist Pillow is a clever little pillow that looks difficult but is easy and fun to make. It works well with both tradtional and modern decor-- depending on the fabrics that you use. 

To make these pillows extra quick they cover is hand sewn shut-- no messing around with zippers! You'll have a brand new pillow (or two) for your sofa in under an hour!
Materials:
- 1 fat quarter for the pillow front
- 1 fat quarter or 15 inch square for pillow back.
- 14 inch pillow form

A note about choosing fabrics: Try to use either a solid, or a small scale pattern, so your smocking will be easy to see. I used this stripe leftover from my bike baskets. I love the bright colors and the way the stripes curve with the tucks.
The first thing we need to do is to create a grid on our fat quarter so we can space our pleats evenly. Instead of tedious measuring, we are going to use our iron to create our grid.
First, fold your fat quarter in half (hamburger style!) Using a hot iron, press to create a center crease. Open the fat quarter back up and then fold the edges into meet in the middle to make fourths...


For the edges and corners, put your marks about a half inch in.

Creating The Tucks:
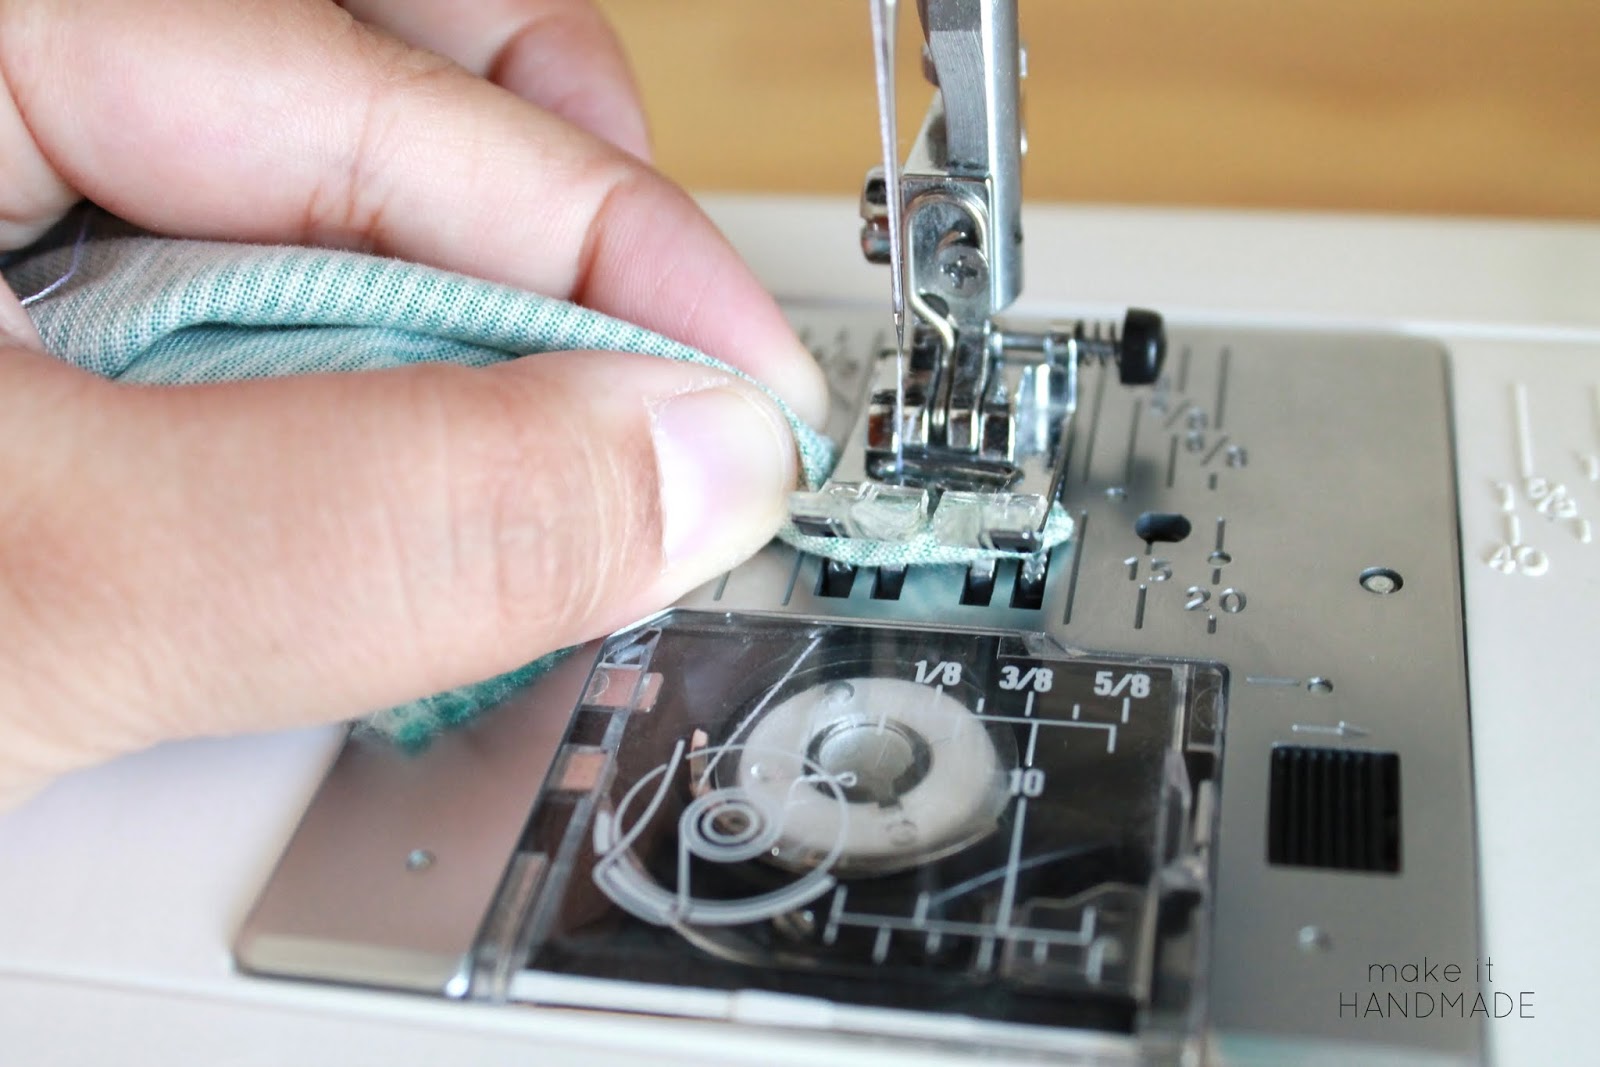
Now for the fun part! I experimented with different ways of creating the tucks, and found that this method worked the best for me. It creates a ton of texture without taking much time, and the tucks are secure and won't get pulled out.We'll need to make a few changes to our sewing machine before we start:
- Change to a short stitch length (I used .2 on my digital machine-- if you have a manual machine, just set it to 2 dashes above zero).
- Move the needle to the far left (if possible).
To make a tuck, grab one of your marked dots and twist. Make sure that while you are twisting, you are looking at the wrong side of your fabric.


Now just do this for the rest of the marked dots. I had good luck with doing 3-4 tucks before cutting the thread-- the sewing went very quickly this way. Make sure you double check that you made a tuck for each point you marked-- I missed a few in the picture below :)

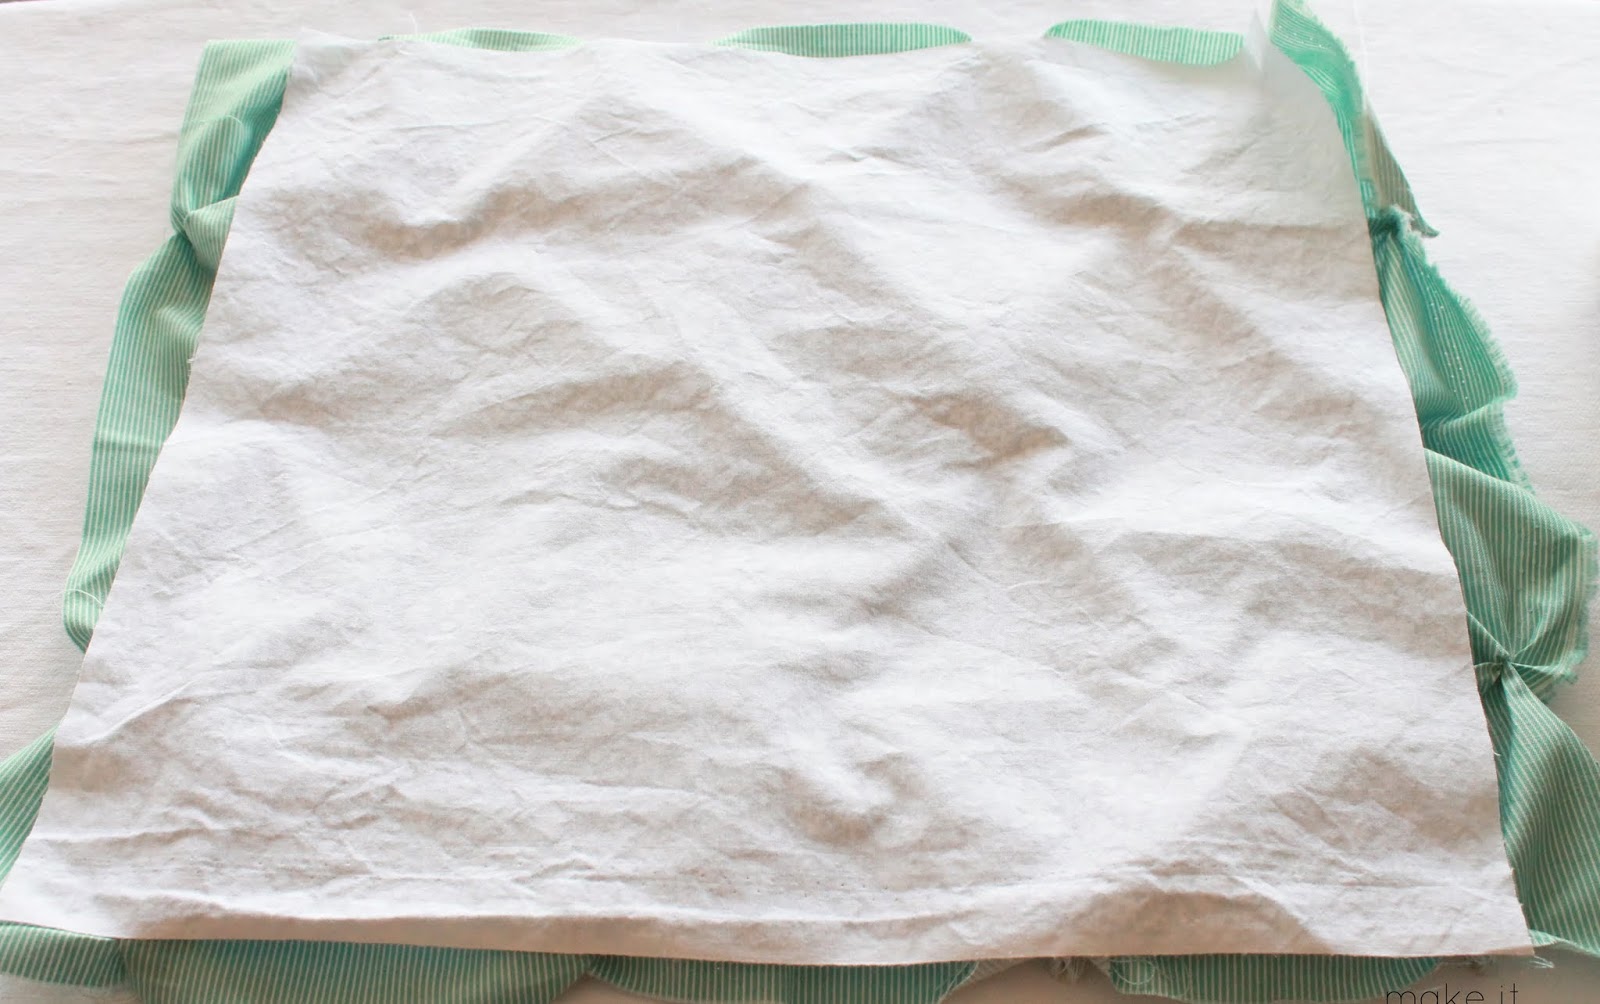
Pin every inch or so around the edge of your backing fabric. If you come across a tuck or fold, make sure to pin that in, so the smocked design appears to wrap around the pillow.

Then, (after changing the machine back to its normal settings) sew along 3 sides of the backing fabric. You can now trim the extra fabric if you wish. I didn't trim because I wanted the corners of the pillow to be soft and rounded.

Turn your pillow right side out, and stuff your pillow form in. Then hand sew the fourth side closed using the magic stitch.
All that's left to do is to enjoy your pillow. :)

I was hopeful that this pillow would add a splash of color to our living room. Instead, it's been commandeered as a mattress for my son's favorite bear and dear friend, Zoomi.

Truth be told, I couldn't think of a better use. I hope your pillow is just as loved!