

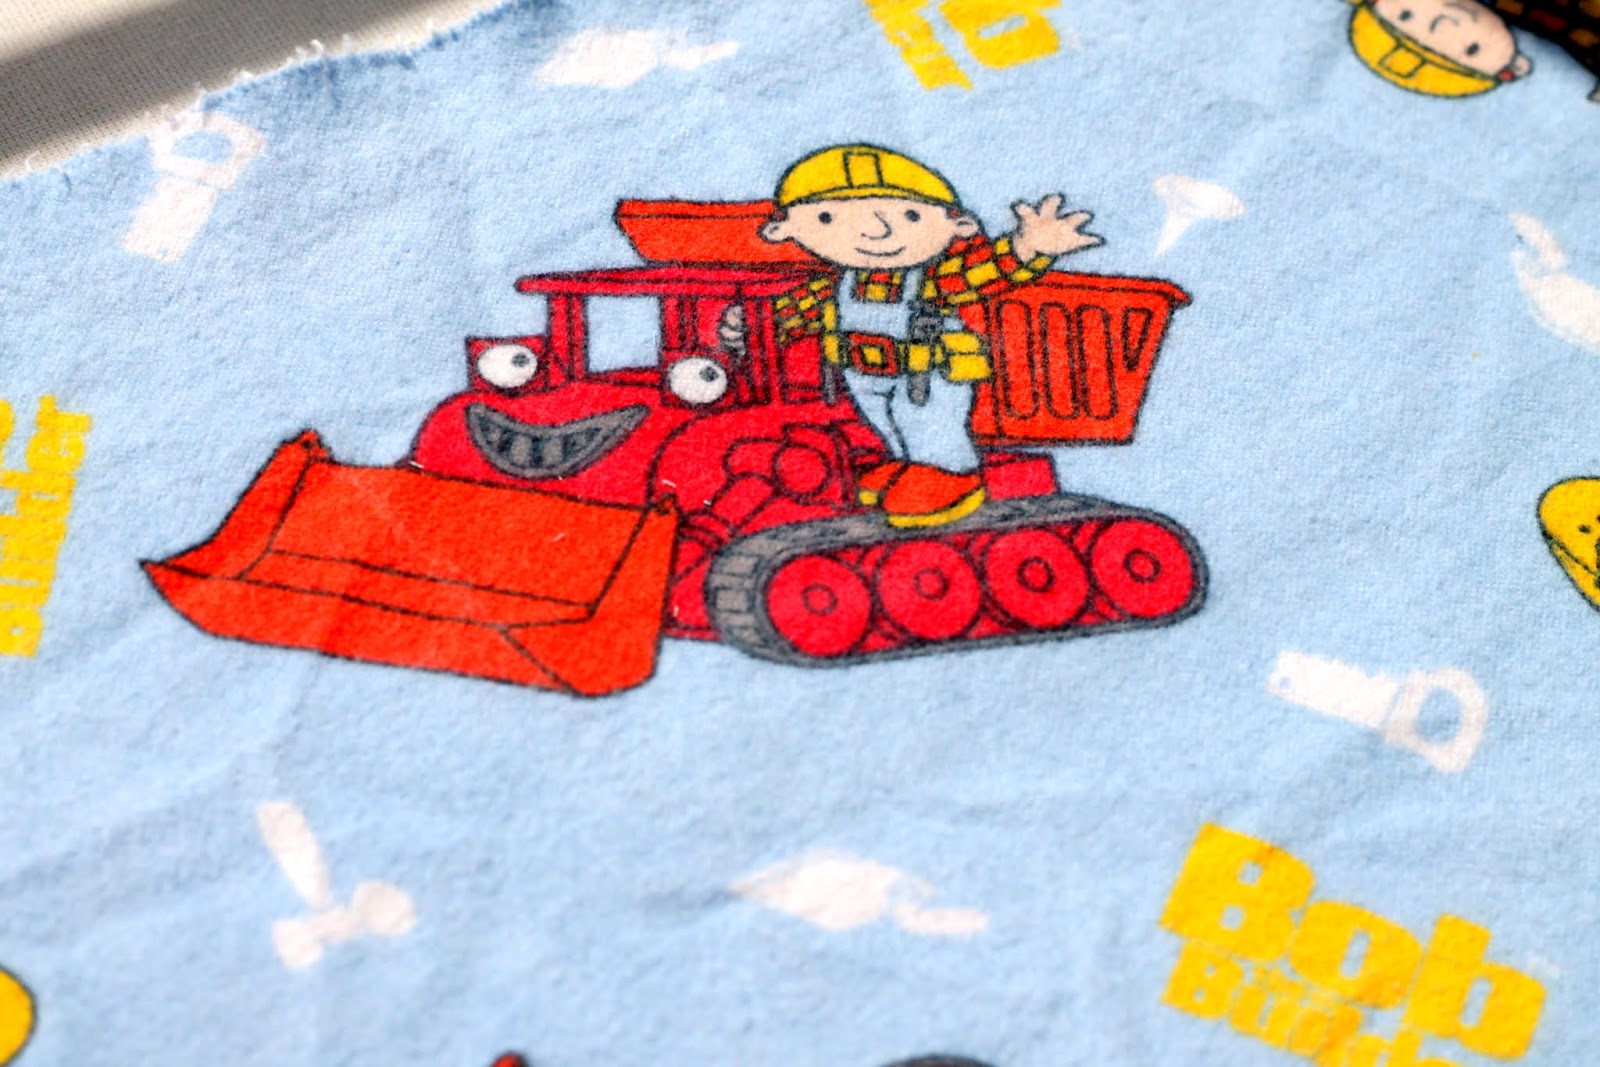
It's a large print, which makes it unsuitable for anything small; but I only had a little bit of it, which means I can't make anything big!

Simple Stuffies
Simple Stuffies: (in six steps!)
1) Rough cut around the image.

2) Find a backing that fits and rough cut around that as well. This is a thin, soft cotton.

3) Lower your stitch length to make it easier to sew around curves and to keep your seam from fraying. Sew an outline around the picture leaving a gap for stuffing. If you have a needle down function on your sewing machine, this is a great time to use it!

4) Stuff! I used a handful or polyester fill and a seam ripper to get into all the corners.


You are finished!

I'm hoping that the edges fray a bit with some use so it's super cuddly. It would be easy to add a squeeker or ribbon loop for a baby. Now I'm going to be on the look out for large prints instead of avoiding them!